Mastering HDR Photo Editing A Guide to Professional Grade Photo Editing:
In the world of digital photography, taking the perfect photo is just the start—true magic comes during the editing process.High Dynamic Range HDR photography has changed the way we handle difficult lighting situations, letting us keep detailed textures in the darkest shadows and the brightest highlights.
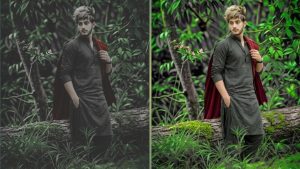
But to truly master this technique, you need more than just moving sliders around you need a keen eye for balance, texture, and natural realism.Whether you want to fix a high-contrast landscape or give your architectural photos a cinematic feel, this guide will help you go from basic photos to stunning, gallery-ready images.
1.Understanding the Basics of HDR Photography:
Before you dive into editing, you need to understand what HDR actually does.
Essentially, HDR is a method that helps you overcome the limits of your camera’s sensor.While human eyes can see details in both deep shadows and bright highlights at the same time, cameras often can’t capture that all in one shot.
HDR solves this by taking several exposures of the same scene—usually a set of three one underexposed, one correctly exposed, and one overexposed.By combining these, you end up with a final image that holds rich detail in the darkest areas and prevents the brightest parts from turning into pure white.
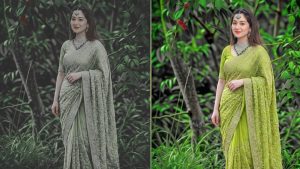
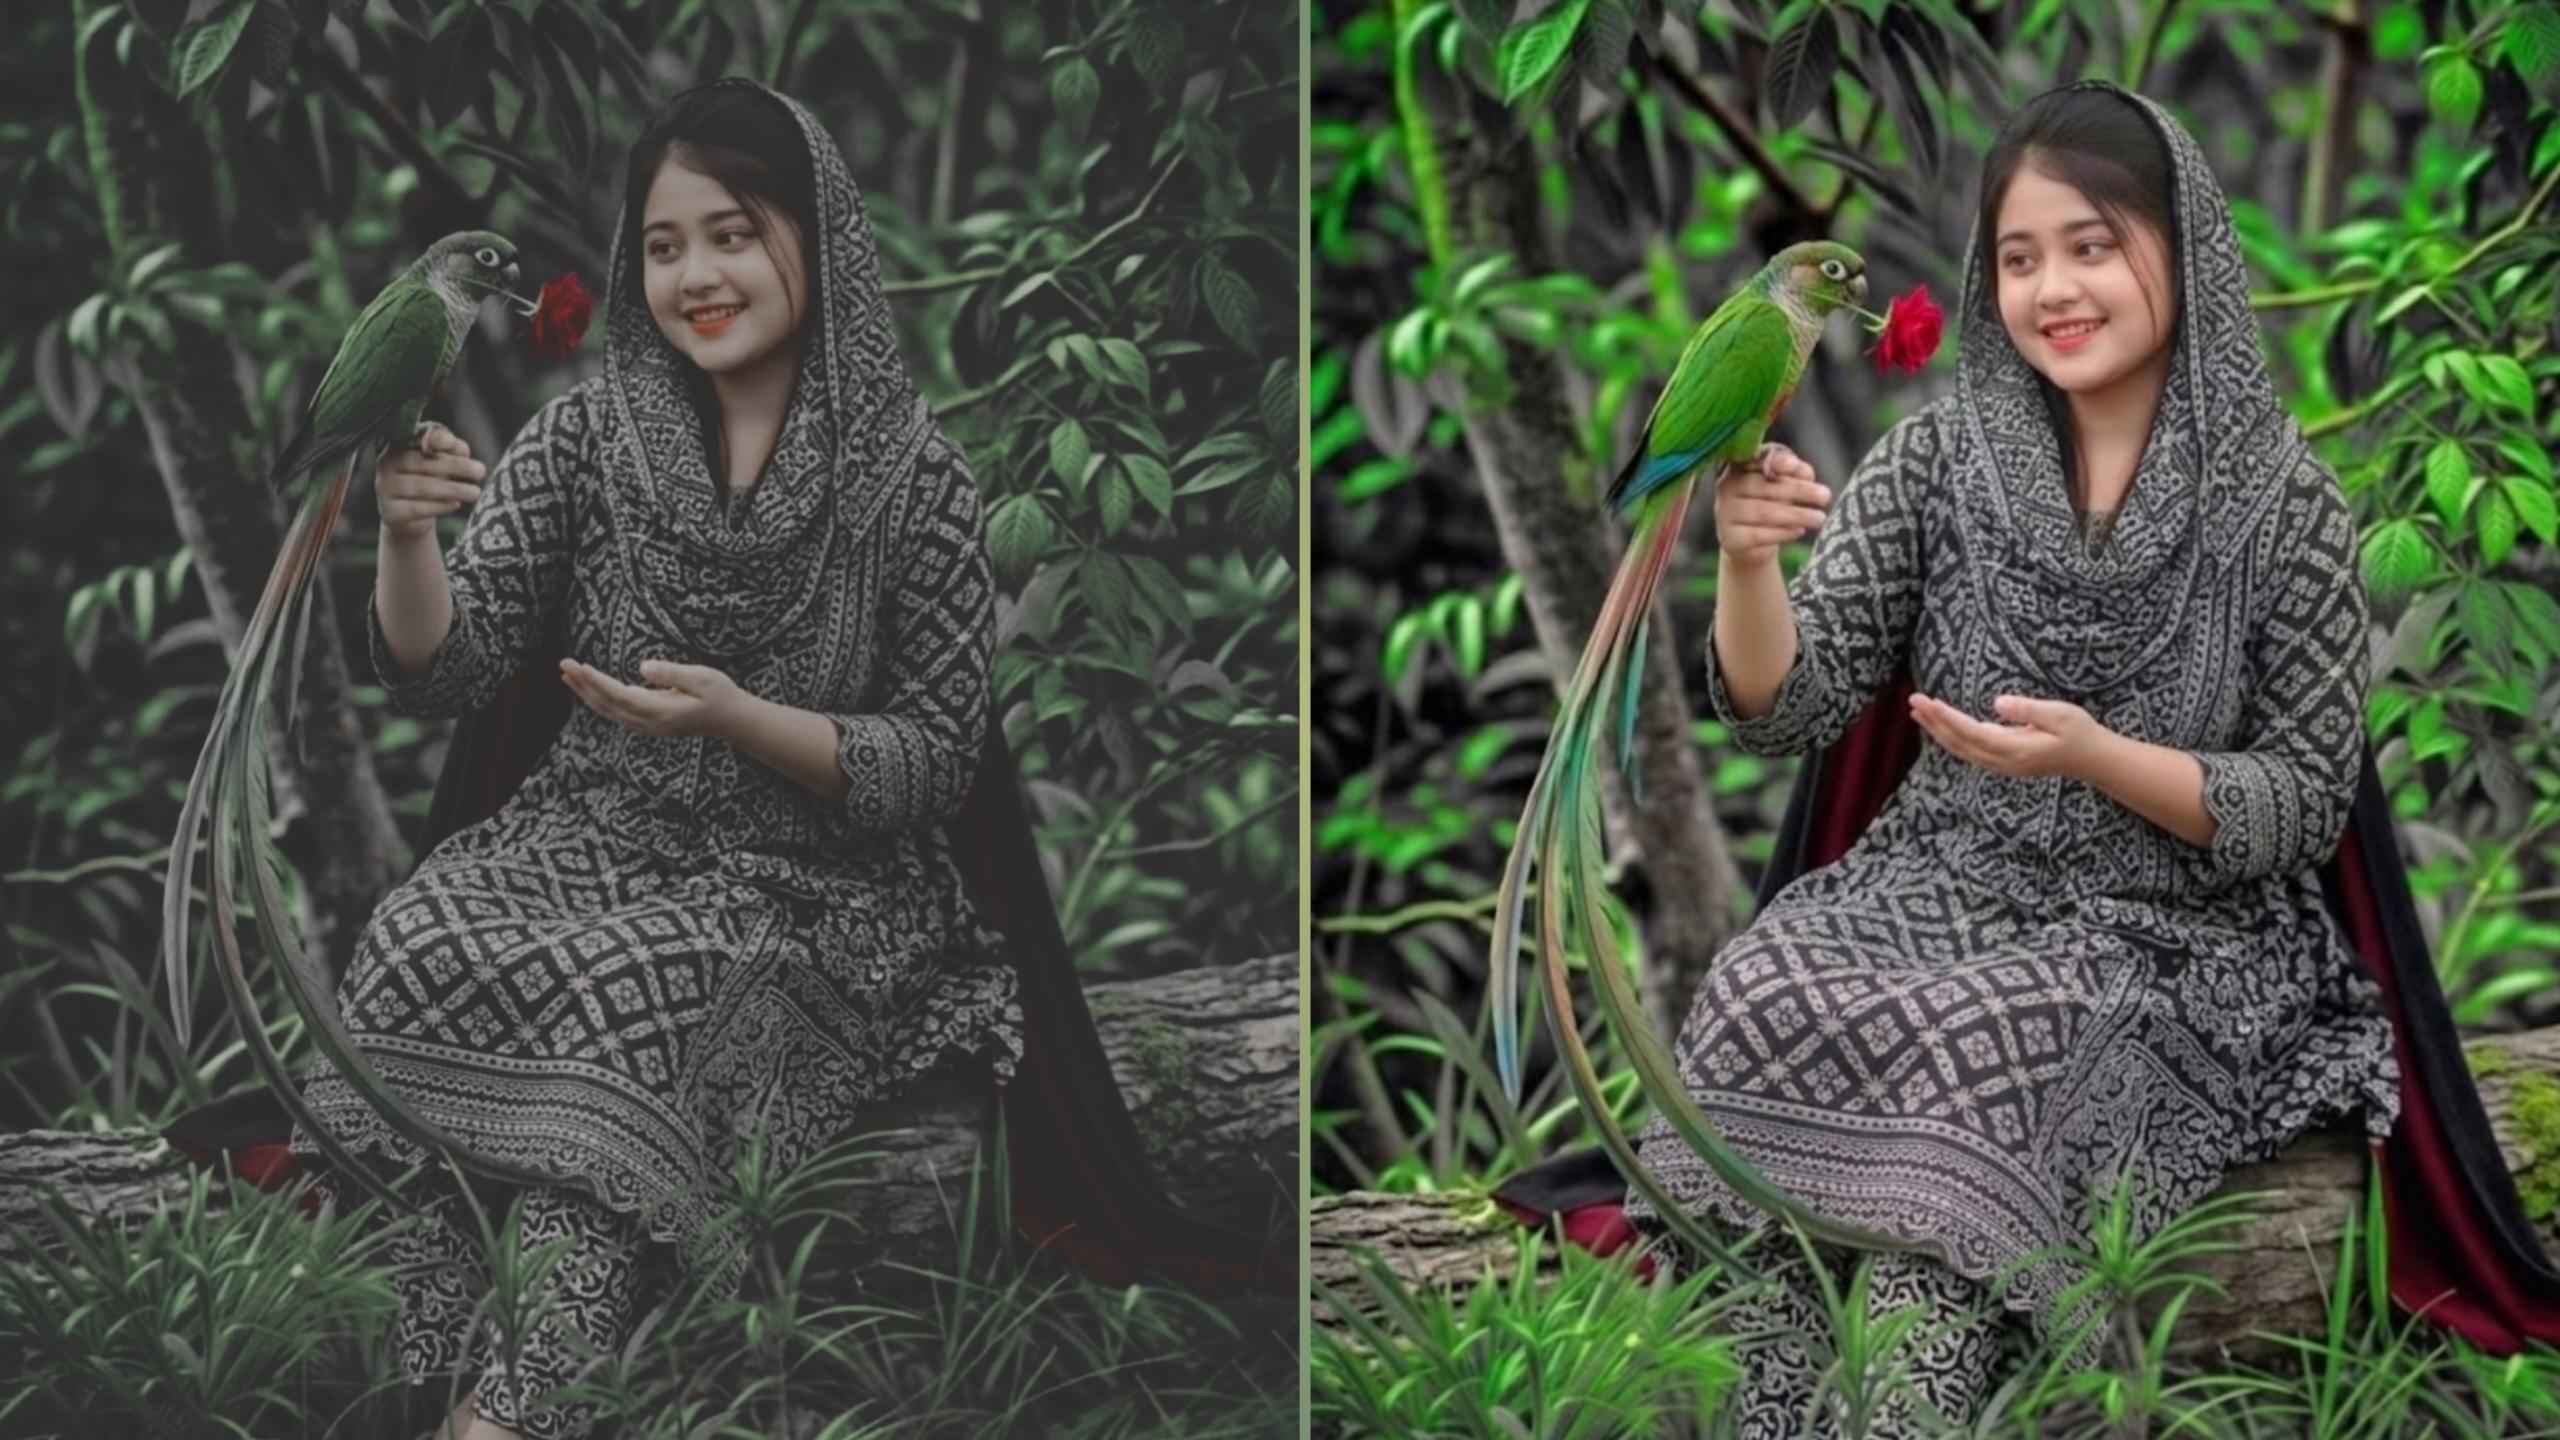
Remember, HDR is about balance, not just adding drama.When done right, the image should look natural, like how your eyes see.Mastering the basics isn’t about creating overly saturated or weird-looking images it’s about capturing the full range of light that you saw when you took the photo.
Once you understand how to set up your exposure brackets in the field, you’ll have the best possible base for creating top-quality images in editing.
2.Essential gear for capturing high-dynamic-range Scenes:
While editing software is key to HDR, you can’t edit what wasn’t captured.HDR needs precision, so your gear choices matter a lot.If your original images are blurry, noisy, or not aligned, even the best software won’t help you salvage the final image.First and foremost, you need a sturdy tripod.
Because HDR usually requires taking multiple shots of the same scene at different exposures, the camera needs to stay completely still between each shot.Even a tiny movement from a shaky hand can cause ghosting or misalignment when the images are combined, which makes the final image unusable.
Use a remote shutter release or your camera’s self-timer to avoid vibration when taking the shots.Next, think about your camera’s sensor capabilities.You don’t need the most expensive camera, but you do need one that supports RAW format shooting.JPEG files lose a lot of data, which means you can’t recover lost.
Highlights and shadows as easily later.RAW files act like a digital negative keeping all the information the sensor captured, which is essential for good HDR results.Finally, don’t ignore your lens choice.Scenes with a lot of bright light can cause lens flare, making your images look less sharp.Using a high-quality lens with good multi-coating.
And keeping a lens hood on can help preserve contrast and clarity in your shadows.Investing in good tools sets you up for a smooth editing process.
3.Best practices for shooting images for HDR processing:
To get the look of professional HDR photography, the work starts long before you open your editing software.Since HDR relies on merging multiple exposures of the same scene, consistency is key to a successful final image.First, you must use a sturdy tripod.
Even the smallest movement between shots can lead to ghosting or alignment problems when the images are combined.If you’re shooting without a tripod, use a high shutter speed and your camera’s Auto Exposure Bracketing (AEB) mode to capture the sequence quickly, reducing the chance of blur.
Next, keep your aperture fixed.While you want your shutter speed to change to capture different brightness levels—usually between -2 and +2 stops you need to keep your aperture constant throughout the bracketed set.Changing the aperture will alter the depth of field, making it hard for software to blend the images smoothly.
Lastly, shoot in RAW format.HDR processing needs the most image data possible to recover details from shadows and bright areas.JPEG files don’t have enough information for the strong adjustments needed in HDR workflows.By capturing a consistent bracketed set in RAW format.
You give your editing software the best possible materials to create a clear, natural-looking final image that truly captures the full light of the scene.
4.Choosing the right Software for professional HDR Workflows:
There are many photo editing apps, but not all are suitable for professional HDR workflows.
When merging multiple exposures, you need software that goes beyond basic auto-HDR presets and offers precision, control, and non-destructive editing.At the professional level, your software should focus on three.
Click Here
Main features high-bit-depth processing, advanced ghosting reduction, and seamless integration with your workflow.Adobe Lightroom and Photoshop remain industry standards for their powerful Merge to HDR features and wide range of plugins, allowing you to fine-tune tone mapping with great detail.
However, specialized programs like Photomatix Pro or Aurora HDR often have more advanced algorithms for handling complex lighting scenarios, such as high-contrast architectural interiors or difficult sunset landscapes where recovering shadow and highlight details is vital.Ultimately the goal is to find software that works well with your camera’s RAW files.
Look for tools that let you export high-dynamic-range files in 32-bit format, preserving the most color and tonal information for the final editing stage.Remember, the best software isn’t necessarily the one with the most flashy filters.Instead, it’s the one that gives you a clear, reliable,
And clean foundation for your creative vision.Before purchasing, try out trial versions to see how the software handles your specific camera’s RAW files—the difference in the underlying processing engine can be the difference between a professional masterpiece and a muddy, over-edited amateur image.