How to Add New QR Code Presets for Pro-Level Photo Editing:
In the world of mobile photography, few apps match the creative freedom and professional-level quality that Polarr offers.Whether you’re a social media lover wanting to fine-tune your style or a photographer who edits on the move, the ability to instantly change your photos with a single click is a huge advantage.
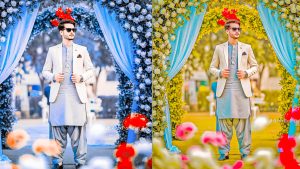
The key to this power lies in the app’s QR code system, which lets you bring in advanced edits created by experts from around the world.If you’ve ever wondered how to unlock this powerful feature and take your photo gallery to the next level, this guide is for you.Here, we’ll explain how to master Polarr, from finding the best presets to importing them, so you can create stunning, professional-level images in just seconds.
1.What is Polarr and why use QR code presets?
Polarr has become a trusted name in the world of photo editing, connecting mobile users with powerful, professional tools.
Whether you’re a casual photo taker looking to enhance your Instagram posts or a pro who needs to make quick adjustments on the go, Polarr has a user-friendly design with tools like HSL adjustments, custom overlays, and exact masking.

But the real reason people love Polarr is its unique QR code system.Imagine spending hours perfecting a moodier cinematic or bright and airy look, only to start over every time you open a new photo.That’s where QR code presets come in handy.
Think of a Polarr QR code as a digital plan for your editing style.Instead of adjusting dozens of sliders to get a specific look, you just scan the code, and the app instantly applies all the edits—like color grading, exposure changes, and custom filters to your image.
Using these presets isn’t just about saving time; it’s about keeping your photos looking consistent across your whole collection.
By using presets shared by other creators, you can quickly improve your editing skills, understand how professional looks are made, and create polished, professional photos with one tap.
2.Understanding the power of Polarr filters:
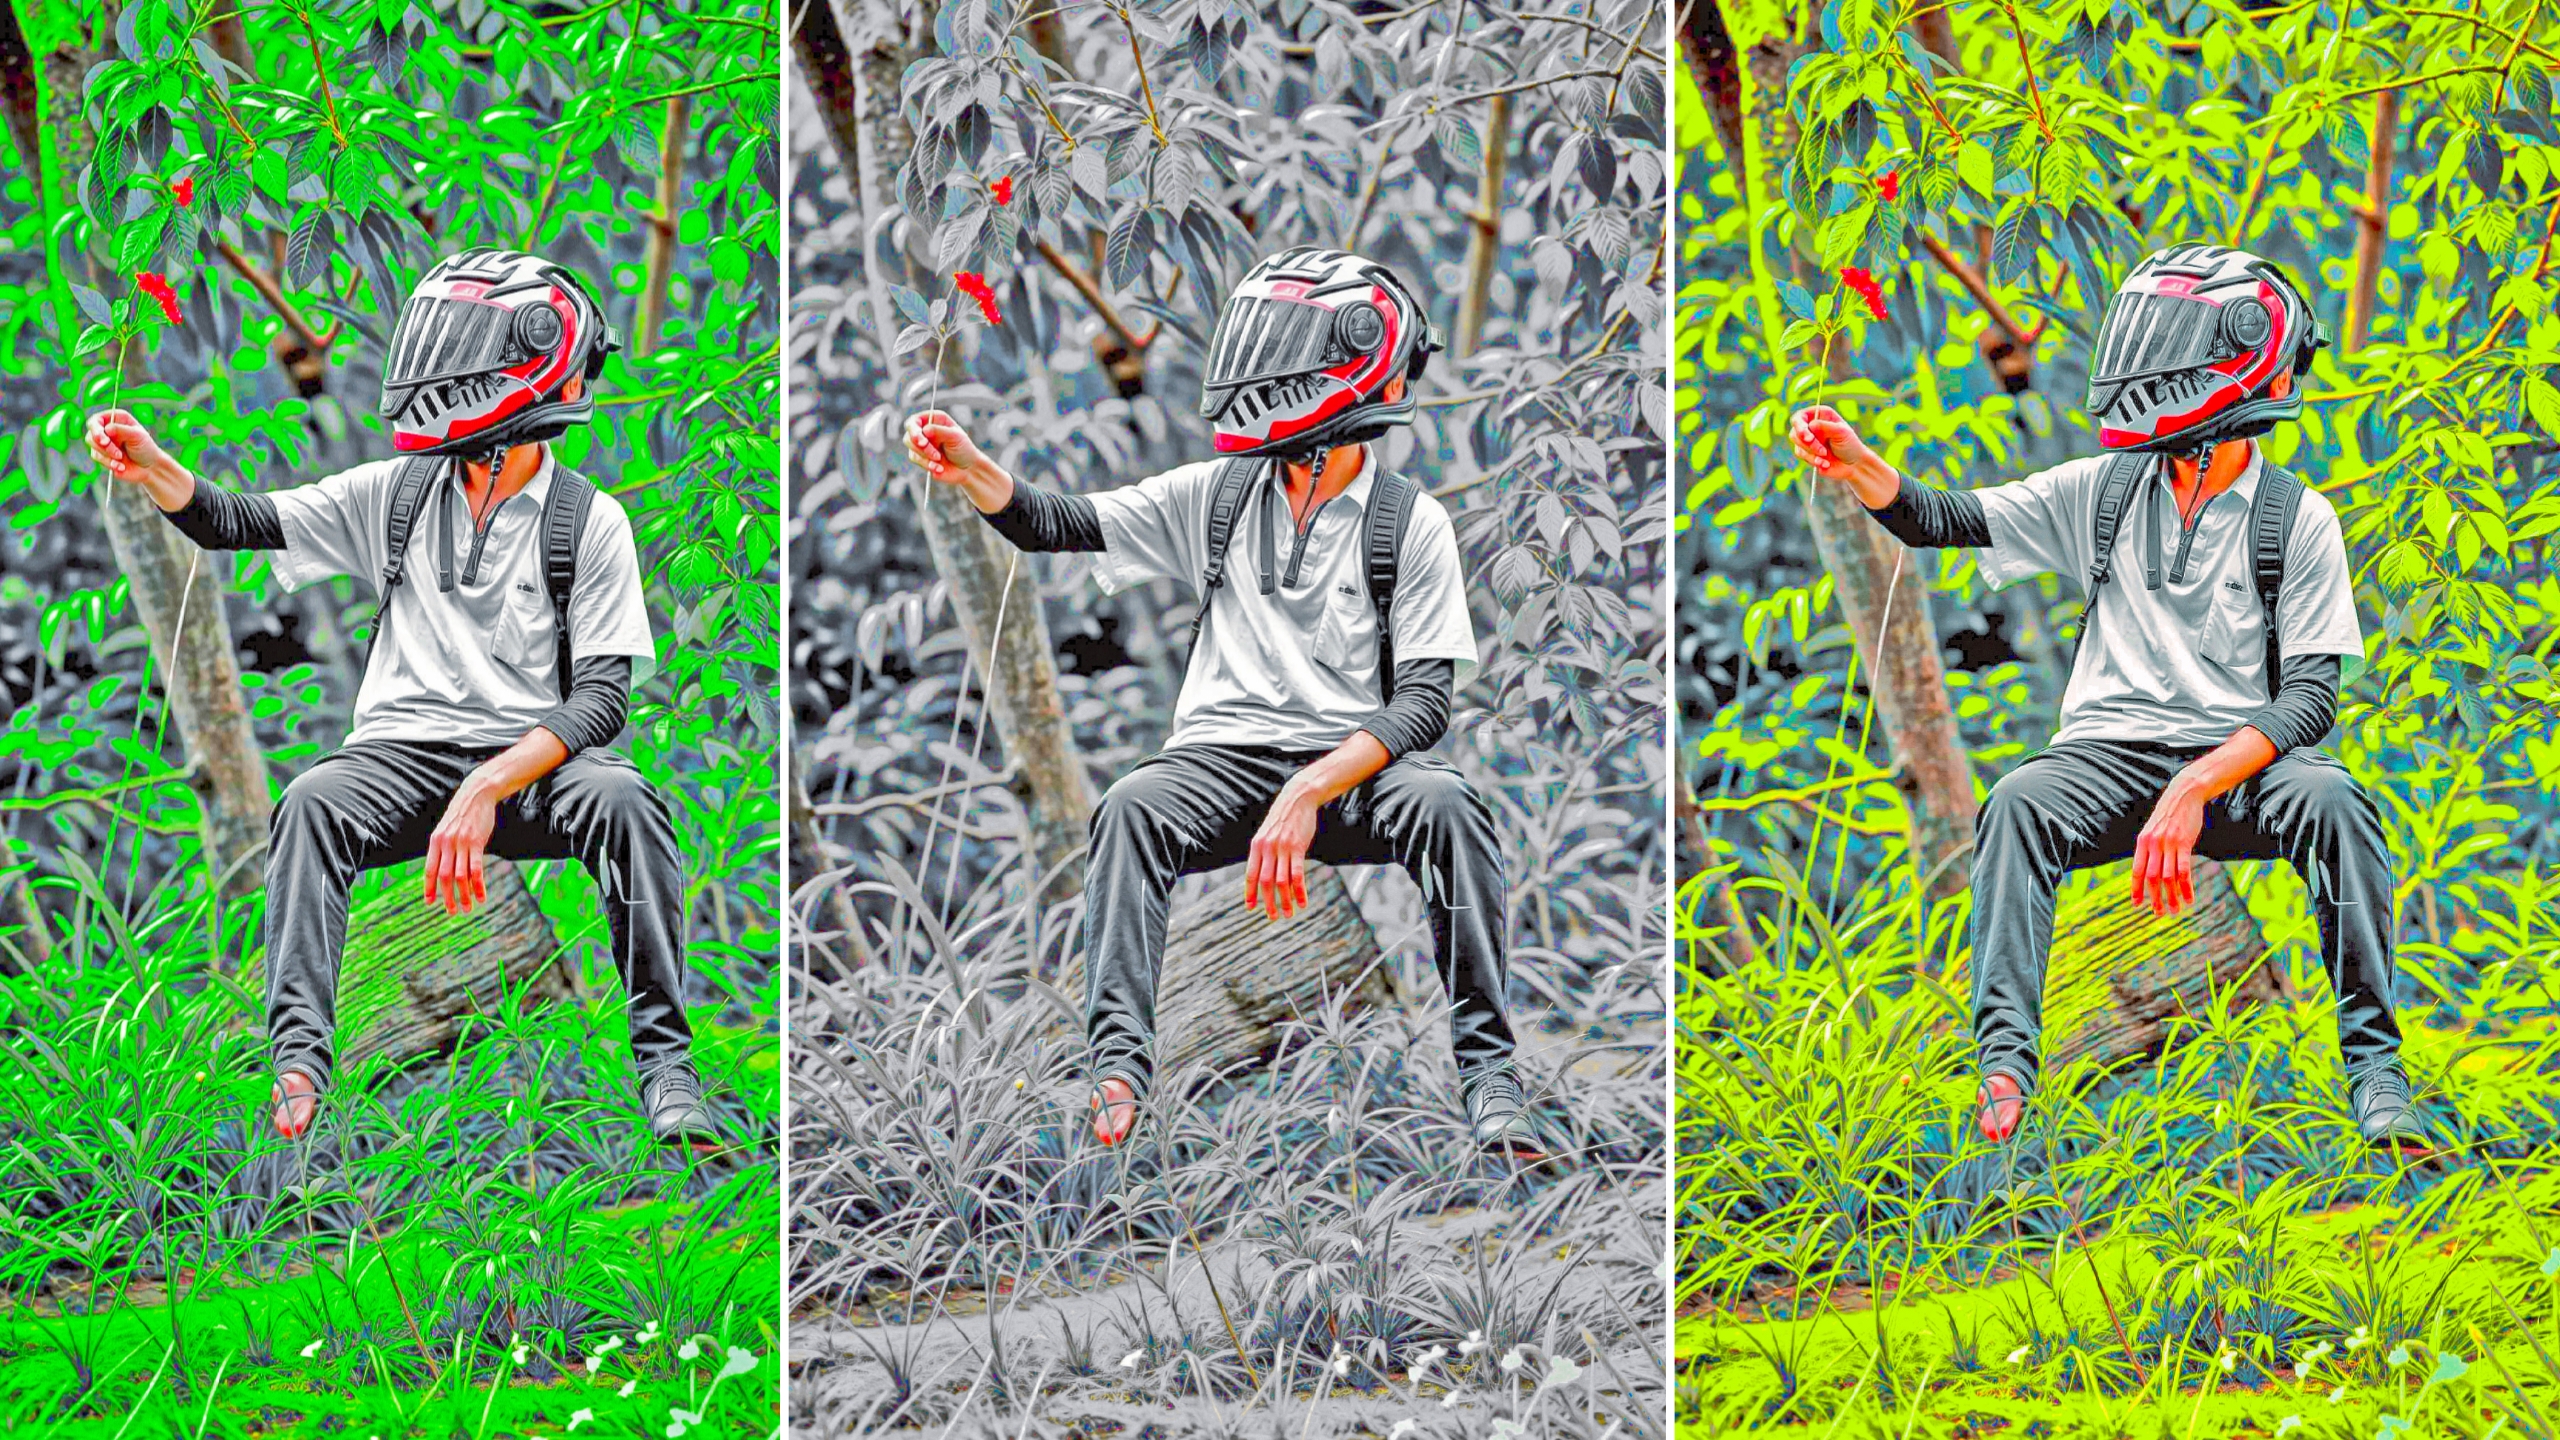
A Polarr filter is more than just a color change; it’s a multi-layered set of professional adjustments.While basic apps might only offer simple presets, Polarr lets you adjust things like HSL (Hue, Saturation, and Luminance), color grading, light levels, and texture overlays with fine detail.
The real strength of these filters is how flexible they are.When you import a QR code preset, you’re not just getting a fixed look you’re getting the work of a professional editor.You can see exactly how the lighting was changed, how the shadows were brightened, or how skin tones were adjusted.
This makes Polarr a great learning tool.Instead of spending hours adjusting sliders to make a certain mood a good QR preset does the work for you, giving you a strong base to build on.Once the preset is applied, you still have full control.
To tweak each setting to fit your specific lighting conditions or style.It’s this mix of fast, professional edits and complete creative freedom that makes Polarr a must-have for photographers who want a consistent, personal look across their entire collection.
3.Where to find high-quality Polarr QR Codes:
Now that your app is ready and you’re excited, the next step is finding those great, professional presets.While the internet has thousands of QR codes, not all of them are good.To avoid cluttering your collection with low-quality filters that might ruin your photos, you need to know where the best ones come from.
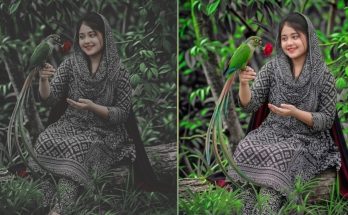
Start with Pinterest.It’s a great place for Polarr users to find filters.By searching for Polarr filter QR codes you can see before and after examples of how filters look, which helps you decide if you want to download them.Another excellent platform is Instagram, especially under hashtags like PolarrCodes or PolarrFilters.
Many talented creators show off their work there, often including the QR code in their highlights or in their bio.If you like working with communities, check out Reddit (specifically r/PolarrCodes) or Discord servers.These platforms are great because users often ask for specific styles, like dark moody vintage or bright summer glow.
And get helpful suggestions from experienced editors.Just remember to choose creators who are reliable and provide clear preview images.Quality is key—having a few well-made filters will do more for your editing than a hundred average ones.
4.How to save QR Codes to your Device
Once you’ve found a preset that makes your photos look just right, the next step is to save it so you can use it again later.Whether you found it on Pinterest, Instagram, or a photography forum, you need to save the QR code to your phone so you can use it whenever you want.
For most people this is easy when you see a Polarr QR code image just tap and hold it.
A menu will pop up, letting you choose Save Image or Download. Once you select that, the code will be saved to your camera roll or photo gallery.Pro tip: Don’t let these images get lost in your photo collection.
Make a special album in your gallery labeled Polarr Presets.This simple step helps you find your favorite edits quickly.By keeping your library organized, you’ll always have your custom editing tools ready to use whenever you need them, just a few taps away.
5.Step-by-step: Importing QR codes into Polarr
Now that you’ve saved your collection of high-quality QR presets to your device, it’s time to bring them into the Polarr app.
Don’t worry if you’ve never done this before; the process is simple and easy to follow, making it quick and straightforward to change how you edit photos.
Follow these steps to import your new looks:
Open the Polarr App: Start by launching Polarr on your device and opening the photo you want to edit.Access the Filters Menu Tap on the Filters icon at the bottom of the screen.Find the Import Option: In the Filters tab, tap the Custom button.Look for the Import Filter icon, which is often shown as a plus sign or labeled as Import.
Select Your Source: A menu will pop up asking how you want to import the filter.Choose Import from Photos (or Import from QR Code depending on your app’s layout).Choose Your QR Image: Go to the folder where you saved your QR code presets and pick the specific image you want to use.Polarr will automatically scan.
Polarr Pro App
The code and instantly apply the preset settings to your current photo.Save and Organize: After the filter is applied, you can adjust its strength using the slider.If you like the look, be sure to save it to your Custom folder so you can easily access it again with just a tap in the future.
By creating your own QR preset library, you’re essentially developing your own editing style.Whether you’re going for a dark and moody look or something bright and clean, using these QR codes is the quickest way to get professional results without spending hours adjusting every detail.